This is an old revision of the document!
Printing in Windows 7
<note> You may need to perform additional setup for printing to Xerox copiers or printing to Toshiba copiers </note>
This guide will walk you though adding a printer to a non-departmental Windows 7 computer.
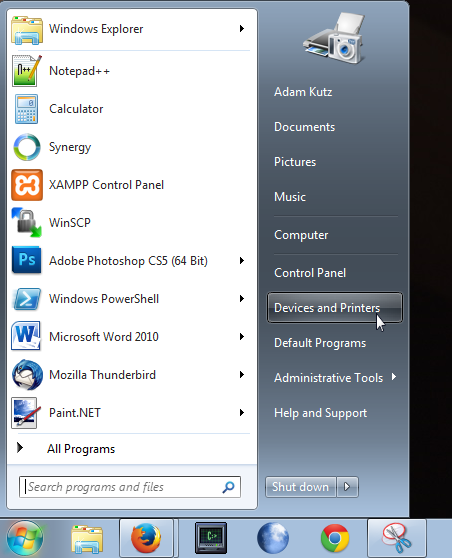
STEP 1: Go to the start menu and click “Devices and Printers”
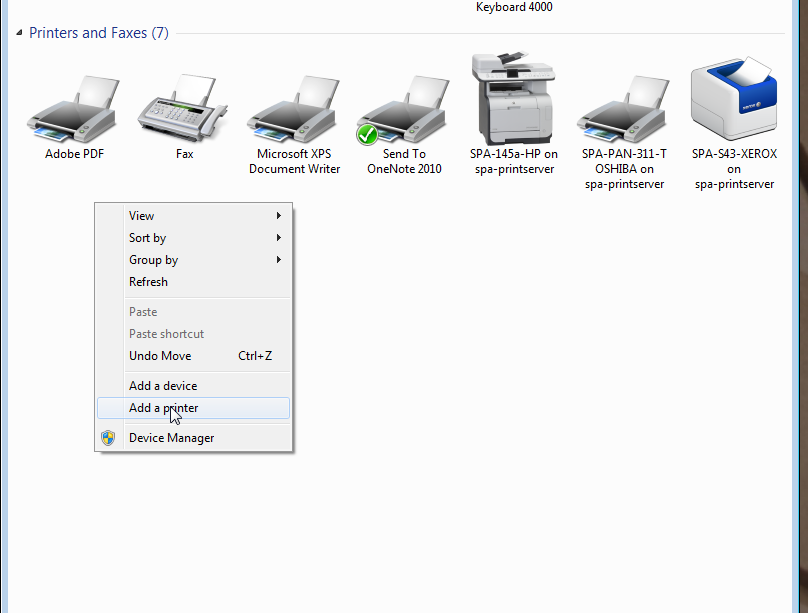
STEP 2: Right click the space in “Printers and Faxes” and choose “Add a printer”
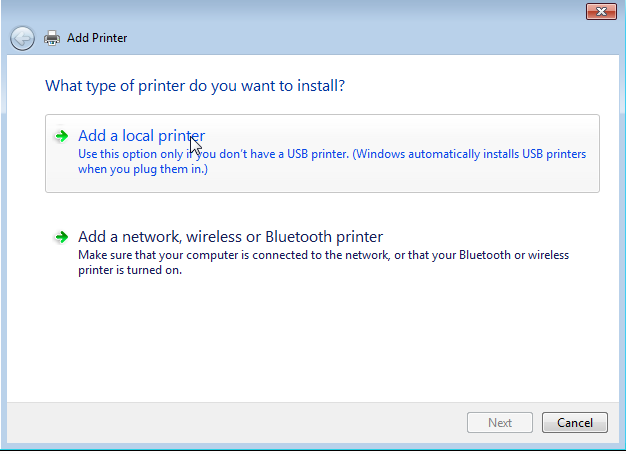
STEP 3: Choose “Add a local printer”
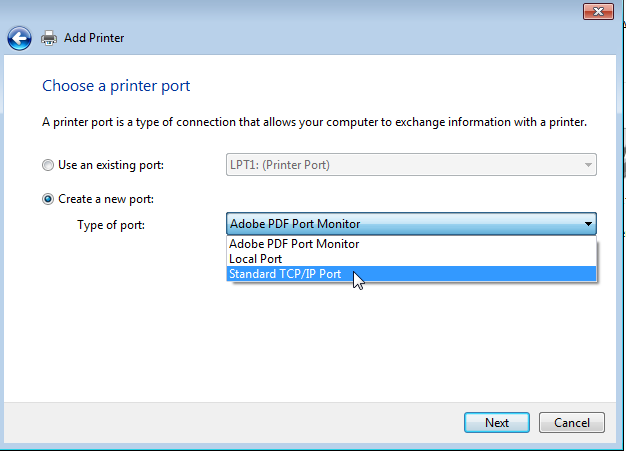
STEP 4: Set the radio button to “Create a new port” and set the dropdown to “Standard TCP/IP Port”
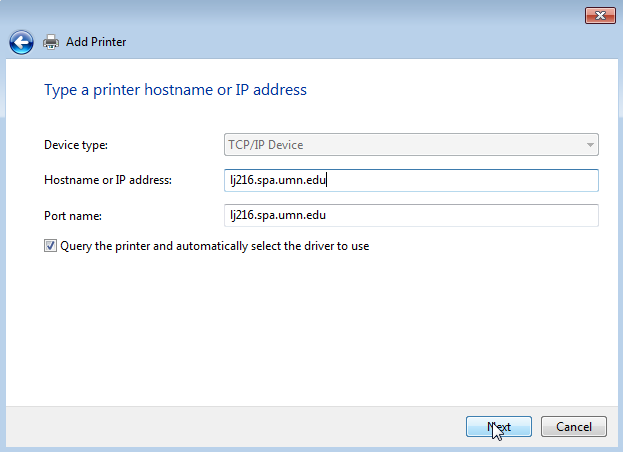
STEP 5: Enter the hostname of the printer, a list is available here
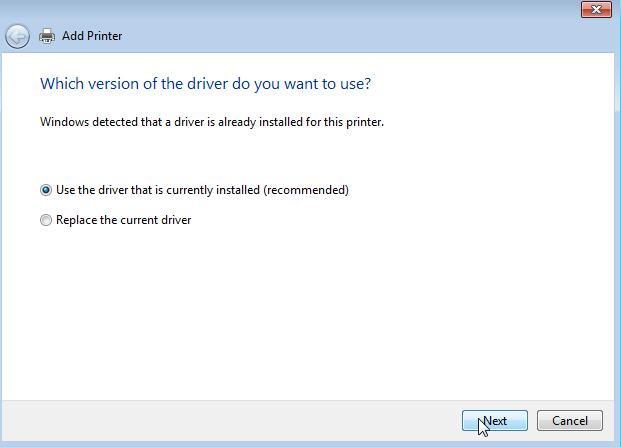
STEP 6: Keep the driver currently installed, if no driver is installed, you may have to select one from the provided list. If the appropriate model does not show up, click the Windows Update button.
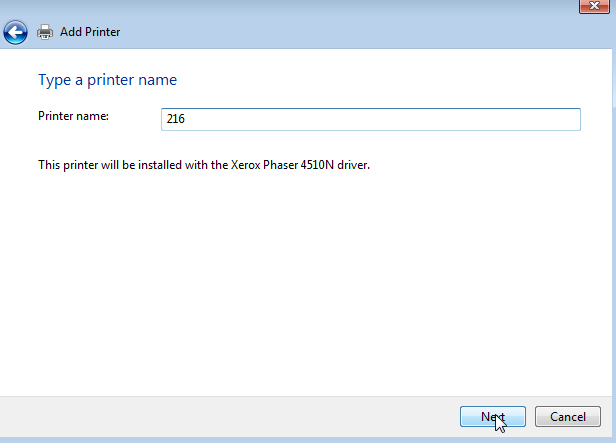
STEP 7: Give the printer an identifiable name
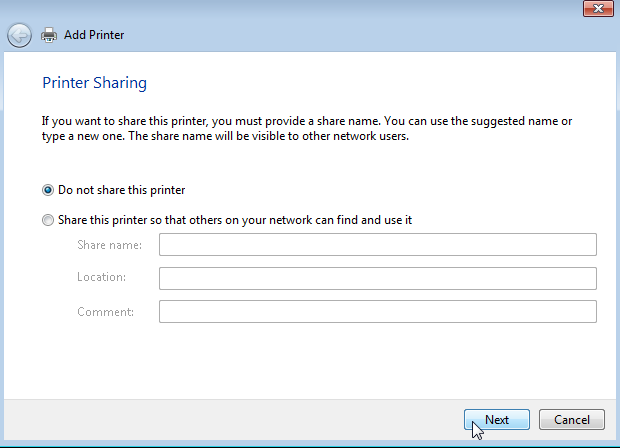
STEP 8: There is no need to share the printer
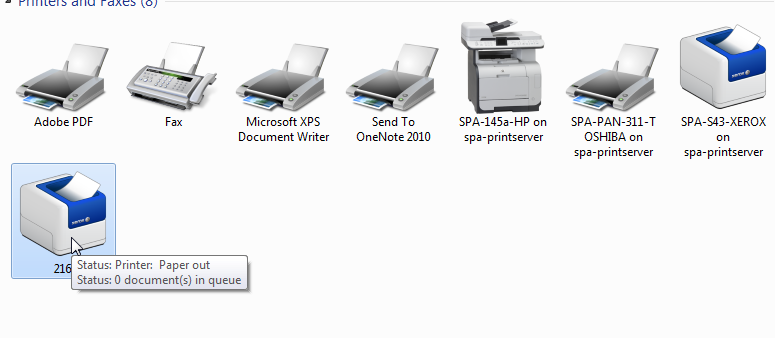
STEP 9: The printer should appear in devices and printers
